I am on Maternity Leave from September 4th-October 12th: This post was contributed by Tasha at Creation Corner.
I love to do handmade gifts and baby presents are no exception. Today, I will be sharing a tutorial on how to make cute baby bibs just like the ones I gave away during Tiffany's Baby Shower Giveaway. Yep, I am sharing my bib secrets with you. I figured since I am here while Tiffany is cuddling a new baby I would host a tutorial on a baby item. These really are a staple baby present I give.
Baby Bib Tutorial
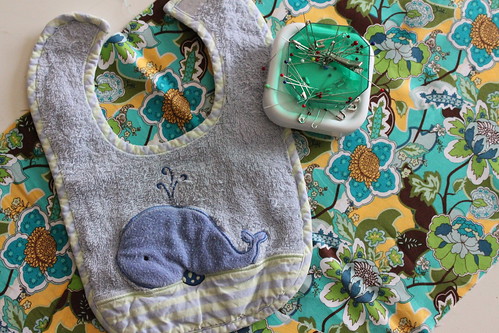
Gather your materials:
Front and back fabric
An old favorite bib
Pins
Thread
Sewing machine
Sew on Velcro
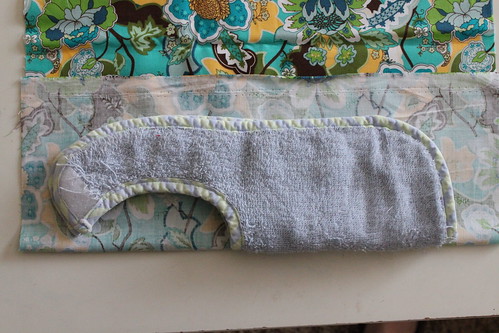
1. Take the bib and fold it in half. Take your front fabric and fold it down enough for the folded bib to fit on. Make sure the edge of the folded bib is on the edge of the folded fabric.
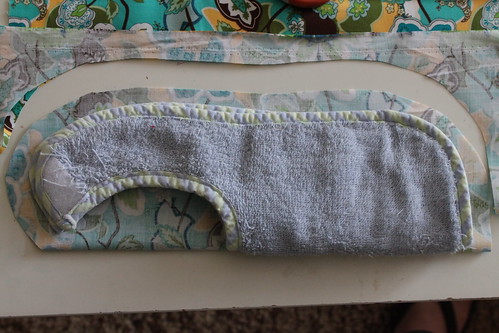
2. Cut out the fabric about a 1/2 inch larger then the bib. Make sure to cut out around the neck too. I hadn't done that when I took the picture. But, you need to do it around the whole bib.
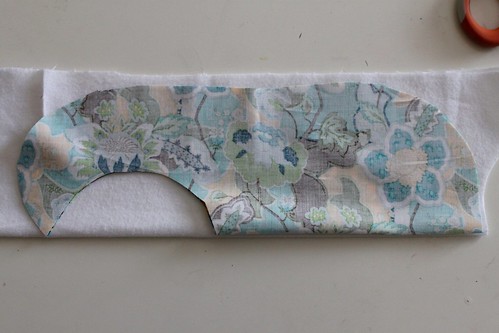
3. Then take the bib you have just cut out and use as your pattern for the backing fabric. This one you will cut out the exact same size as the bib you are using. I like to use flannel most of the time. It is absorbent and that is nice with a baby.

4. Here is what your two pieces should look like.
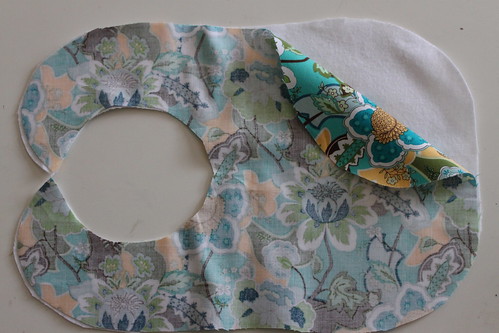
5. Now lay the two pieces on top of each other with right sides together.

6. Pin them together.
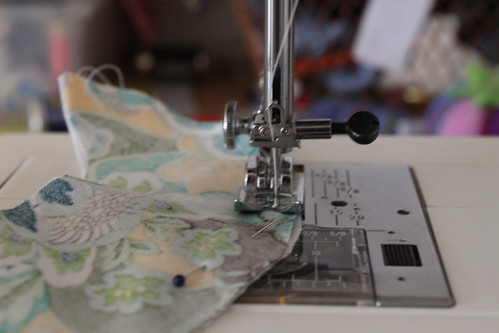
7. Sew around the whole bib leaving a 2 inch opening at the bottom.
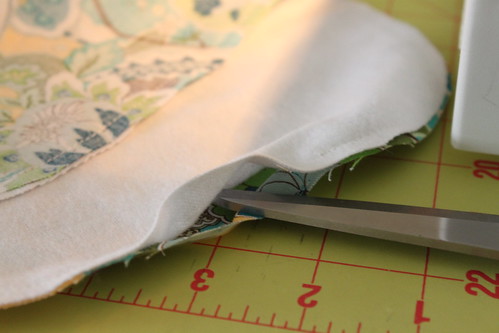
8. Here is my opening at the bottom of the bib. It needs to be big enough you can turn your bib right side out.
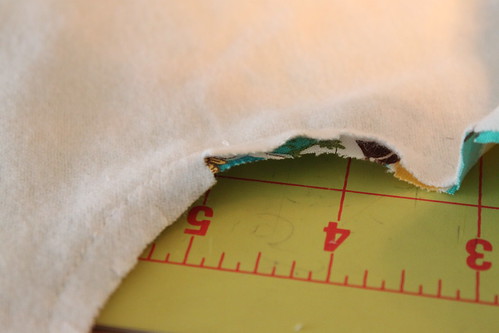
9. Take your scissors and make small clippings anywhere your sewing is curved. This helps to not have your bib pucker when you turn it right side out.
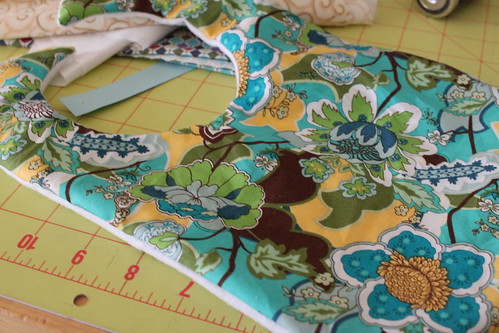
10. Turn it right side out. I often use a chop stick to push my corners and edges out nice and smooth.
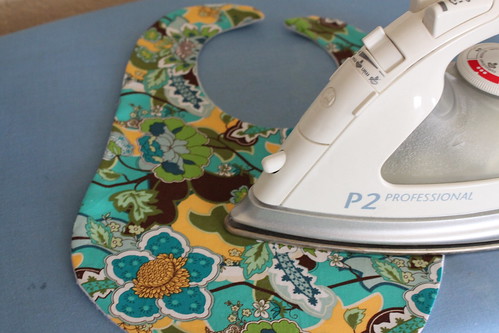
11. Iron it flat. Make sure to turn in the area you left open at the bottom to match the rest of the bib.

12. Stitch on the outside now. You want the stitching close enough to stitch down your hole at the bottom, but not right on the edge.
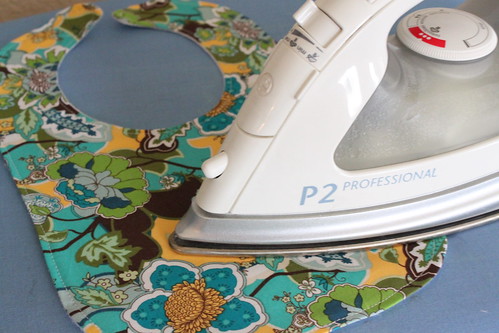
13. Iron it flat again.
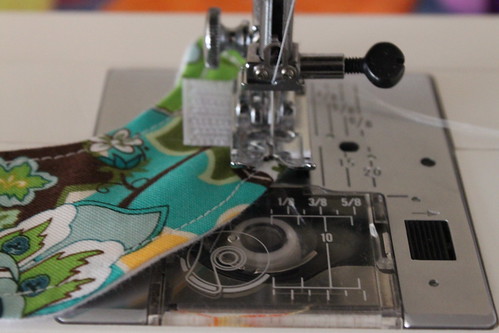
14. Cut small pieces of sew on Velcro. Sew on one piece to each side of the bib up at the top. If you have snaps you can also use those.

(the back side with the Velcro)
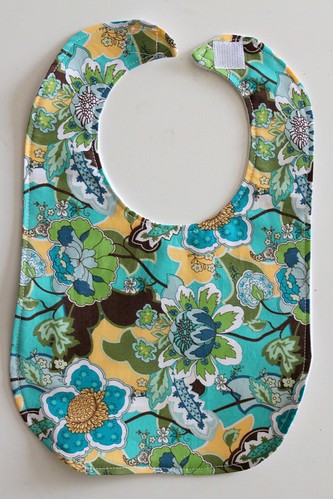
There you have it. There are many options with these bibs. Iron something on, added a few fabric flowers, or sew on some strips to the front.
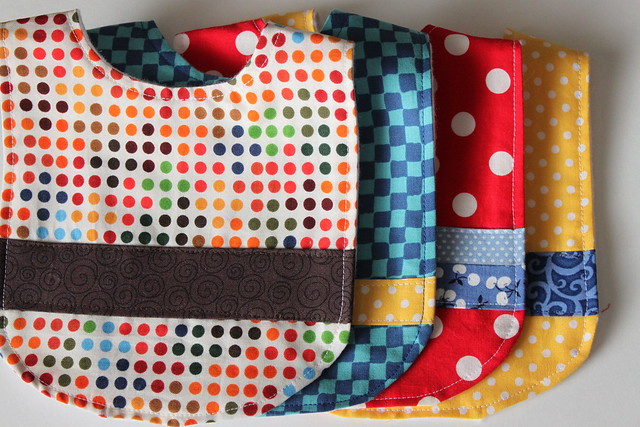
Boy ones
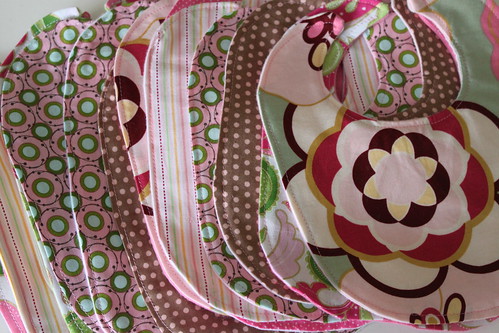
Or Girl ones.
I hope to meet some of you over at my blog, Creation Corner. I also have an etsy shop called My Creation Corner where I sale hair accessories. Thank you Tiffany for letting me share today.
Baby Bib Tutorial

Gather your materials:
Front and back fabric
An old favorite bib
Pins
Thread
Sewing machine
Sew on Velcro

1. Take the bib and fold it in half. Take your front fabric and fold it down enough for the folded bib to fit on. Make sure the edge of the folded bib is on the edge of the folded fabric.

2. Cut out the fabric about a 1/2 inch larger then the bib. Make sure to cut out around the neck too. I hadn't done that when I took the picture. But, you need to do it around the whole bib.

3. Then take the bib you have just cut out and use as your pattern for the backing fabric. This one you will cut out the exact same size as the bib you are using. I like to use flannel most of the time. It is absorbent and that is nice with a baby.

4. Here is what your two pieces should look like.

5. Now lay the two pieces on top of each other with right sides together.

6. Pin them together.

7. Sew around the whole bib leaving a 2 inch opening at the bottom.

8. Here is my opening at the bottom of the bib. It needs to be big enough you can turn your bib right side out.

9. Take your scissors and make small clippings anywhere your sewing is curved. This helps to not have your bib pucker when you turn it right side out.

10. Turn it right side out. I often use a chop stick to push my corners and edges out nice and smooth.

11. Iron it flat. Make sure to turn in the area you left open at the bottom to match the rest of the bib.

12. Stitch on the outside now. You want the stitching close enough to stitch down your hole at the bottom, but not right on the edge.

13. Iron it flat again.

14. Cut small pieces of sew on Velcro. Sew on one piece to each side of the bib up at the top. If you have snaps you can also use those.

(the back side with the Velcro)

There you have it. There are many options with these bibs. Iron something on, added a few fabric flowers, or sew on some strips to the front.

Boy ones

Or Girl ones.
I hope to meet some of you over at my blog, Creation Corner. I also have an etsy shop called My Creation Corner where I sale hair accessories. Thank you Tiffany for letting me share today.
I don't even have a baby and I want to make these. Ha!
ReplyDeleteThose are cute. Sending this to the wife, she's looking a project like this.
ReplyDeleteBest place to find the sewon velcro Here